Understanding Honeywell thermostat wiring is crucial for ensuring your HVAC system operates efficiently & safely. Whether you’re installing a new thermostat or replacing an old one, &proper wiring is essential. We offer high-quality Honeywell thermostats & compatible adapters at reasonable prices. Explore our product page, sales page, or contact us on WhatsApp for personalized assistance.
Table of Contents
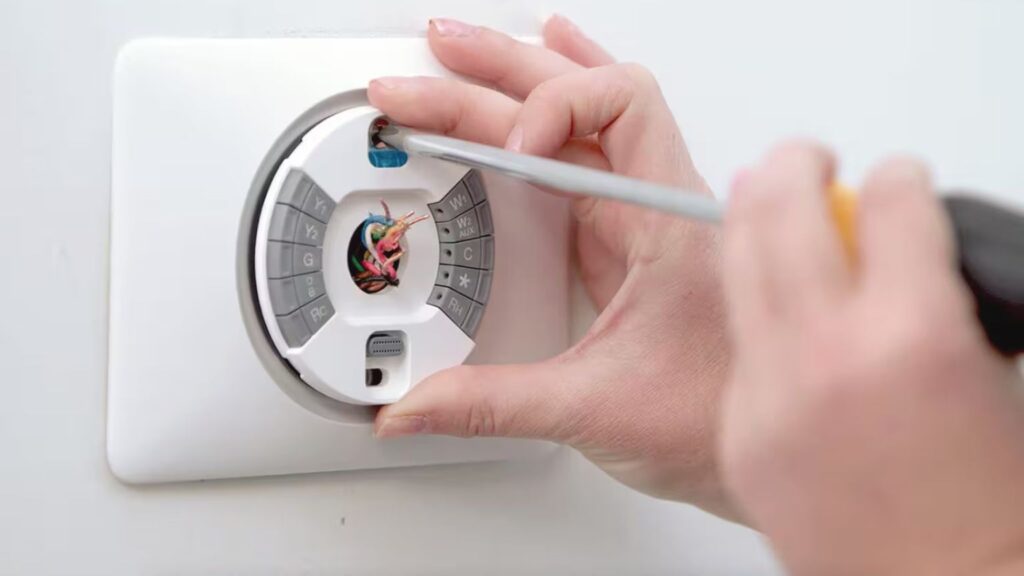
Tools and materials you’ll need
Before you begin honeywell thermostat wiring, gather the following tools and materials:
- Screwdriver (Phillips and flat-head)
- Wire stripper
- Drill and bits (if new holes are needed)
- Level (optional, for mounting)
- Labels or masking tape
- Smartphone or camera (to take a photo of existing wiring)
Step-by-step guide to Honeywell thermostat wiring
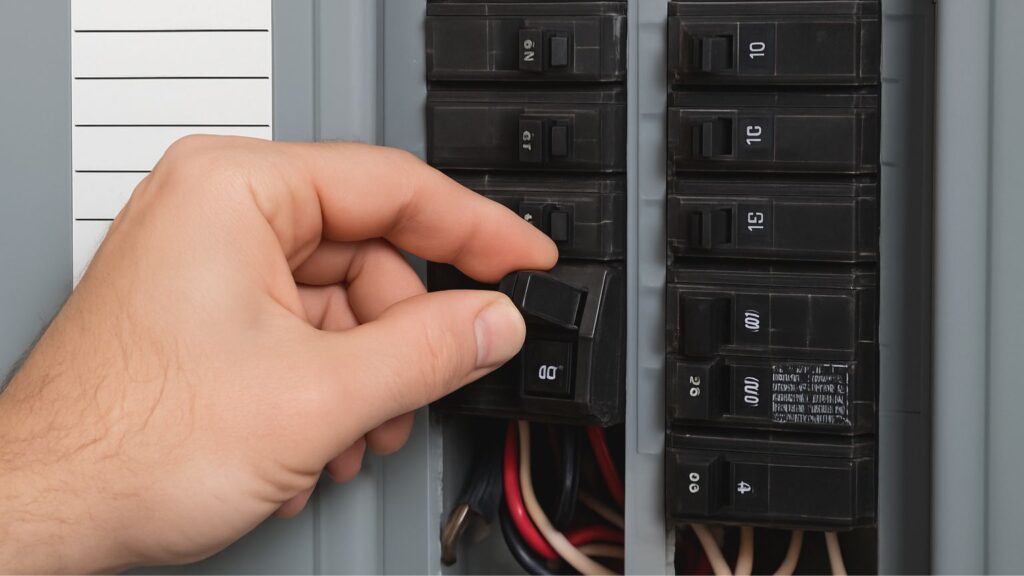
Turn off the power to your HVAC system
Safety first! Locate your home’s circuit breaker and turn off the power to your heating and cooling system. This prevents any electrical hazards during installation
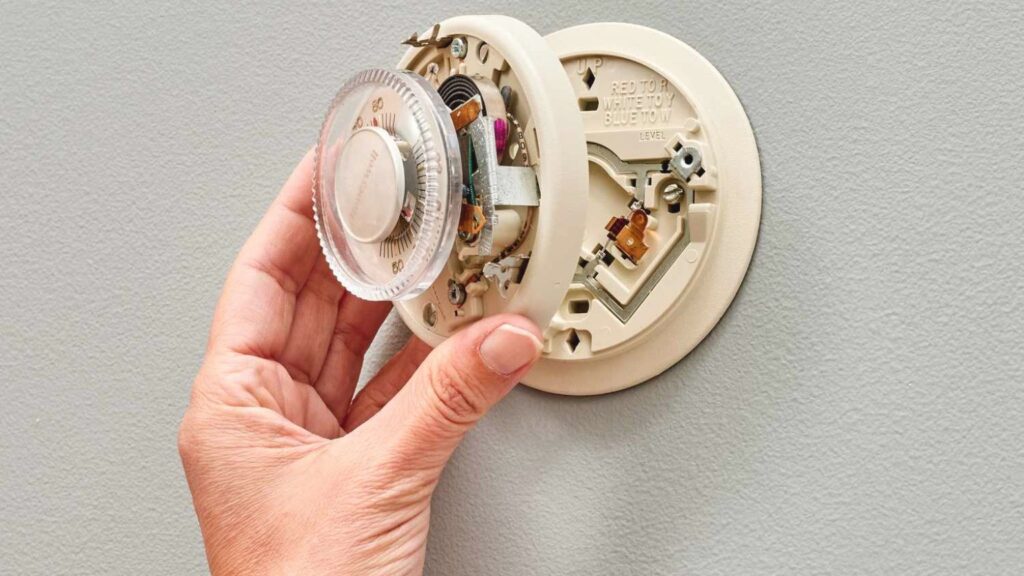
Remove the existing thermostat
Carefully detach your old thermostat from the wall. Most models snap off, but some may require unscrewing. Once removed, take a clear photo of the wiring for reference.
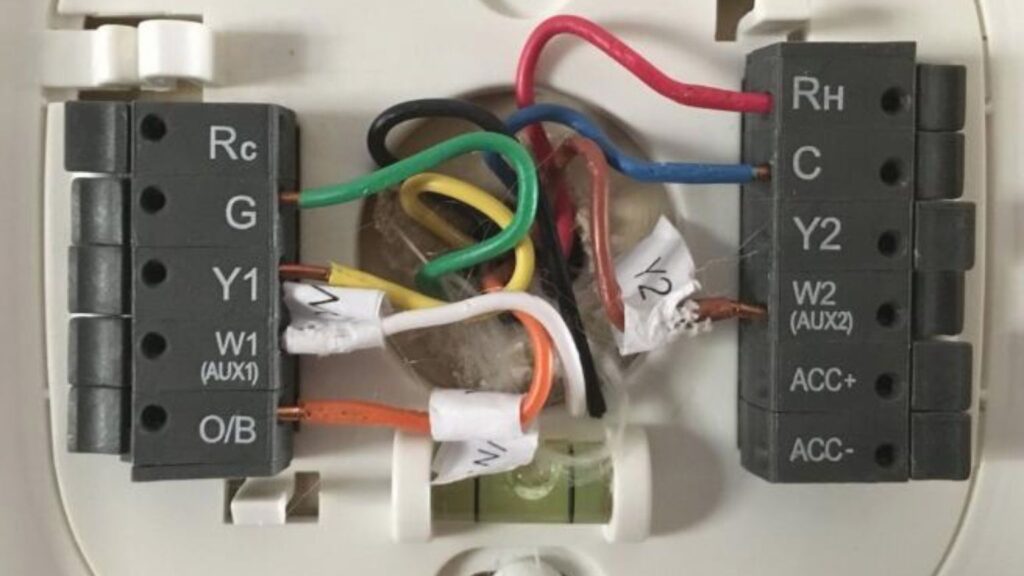
Label the wires
Using labels or masking tape, mark each wire according to the terminal it’s connected to (e.g., R, W, Y, G, C). Avoid relying solely on wire colors, as they may not always correspond to standard functions.
Disconnect and remove the old wall plate
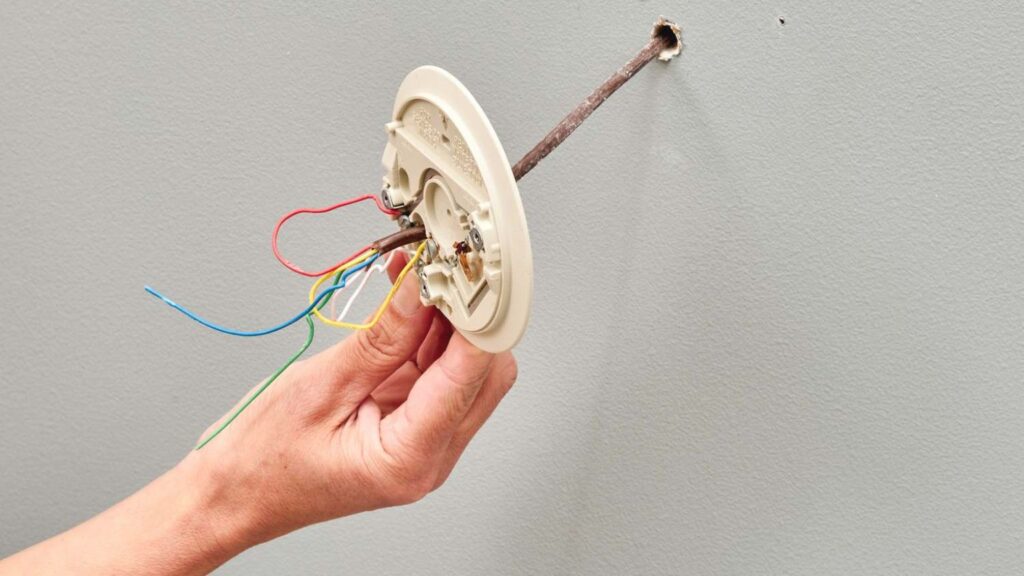
After labeling, disconnect the wires and remove the old thermostat’s wall plate. Be gentle to avoid damaging the wires.
Install the new wall plate
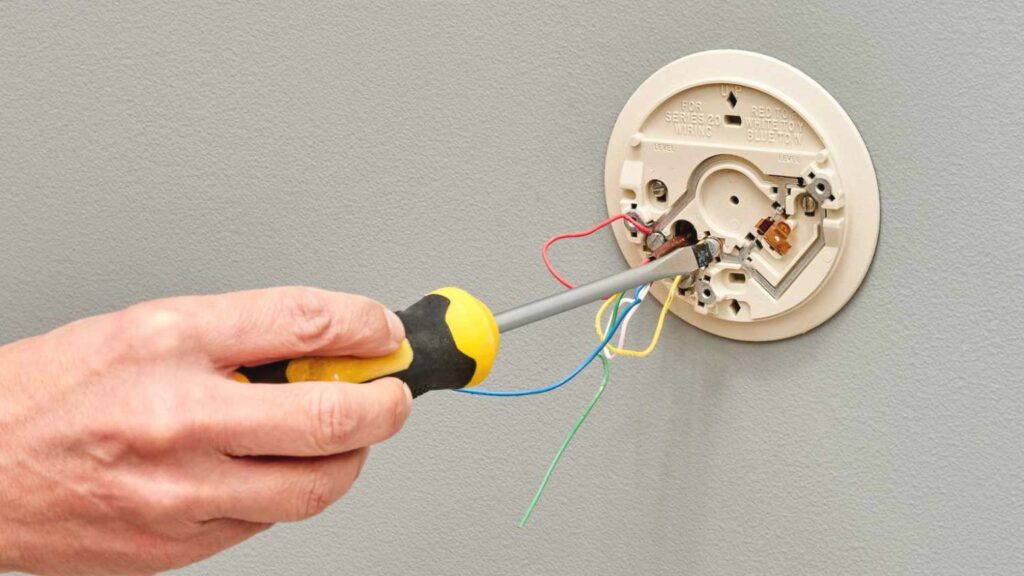
Position the new Honeywell thermostat wiring wall plate on the wall, ensuring it’s level use the provided screws to secure it in place. If necessary, drill new holes to accommodate the plate.
Connect the wires to the new thermostat
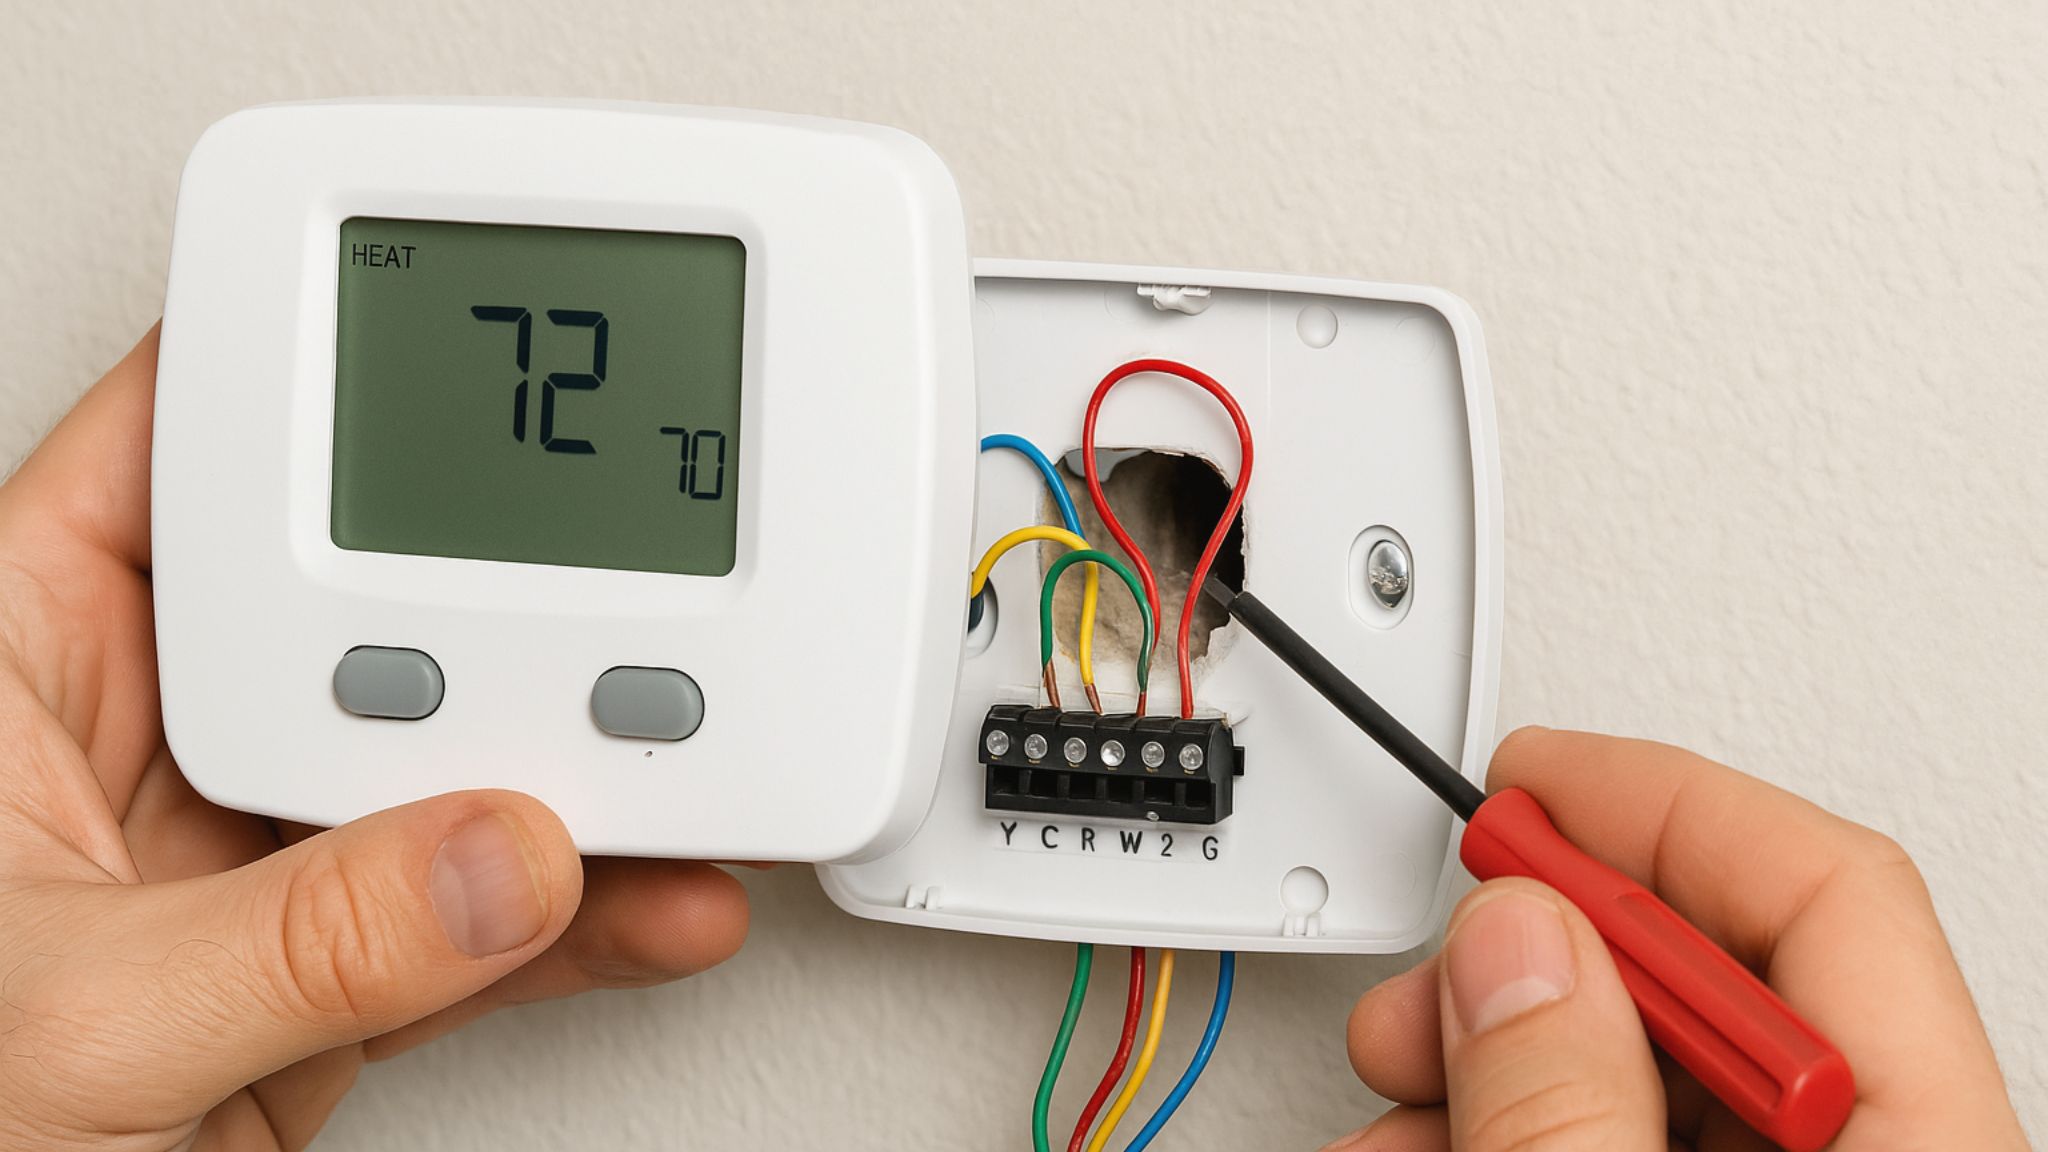
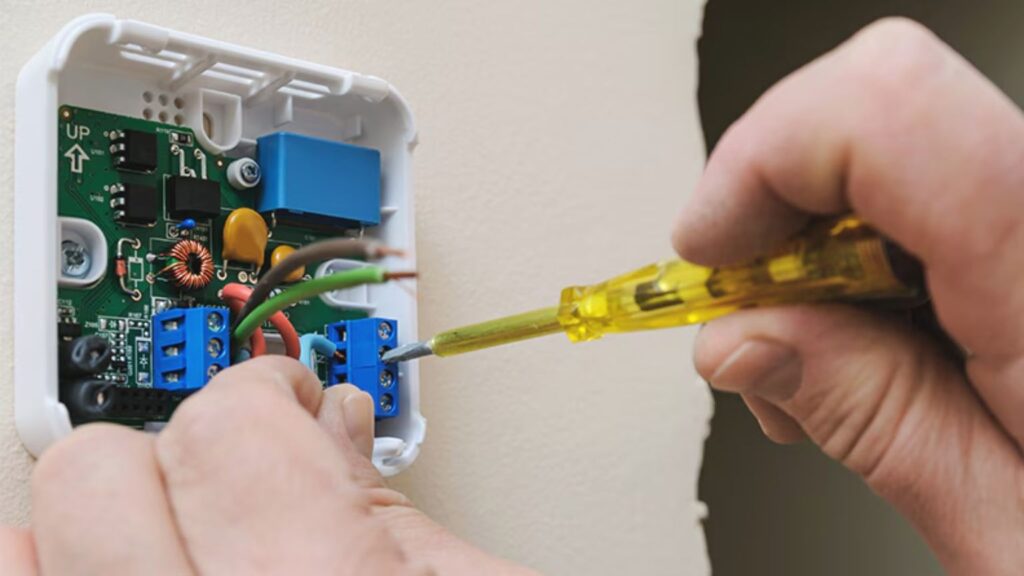
Refer to the labels you attached earlier and connect each wire to the corresponding terminal on the new thermostat. Here’s a brief overview of common terminals:
- R (Red): 24V power from the heating transformer
- Rc (Red): 24V power from the cooling transformer (use a jumper between R and Rc if only one R wire is present)
- W (White): Heating
- Y (Yellow): Cooling
- G (Green): Fan
- C (Blue or Black): Common wire, provides continuous power
- O/B (Orange or Blue): Heat pump reversing valve
Ensure each wire is securely connected by tightening the terminal screws.
Attach the thermostat to the wall plate
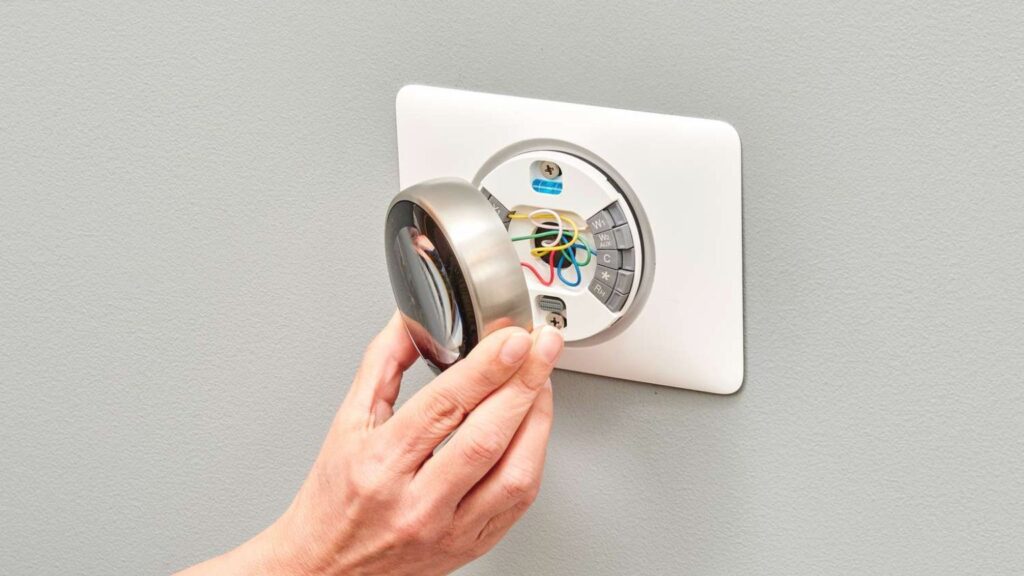
Align the thermostat with the wall plate & snap it into place. Ensure it’s firmly attached and sits flush against the wall.
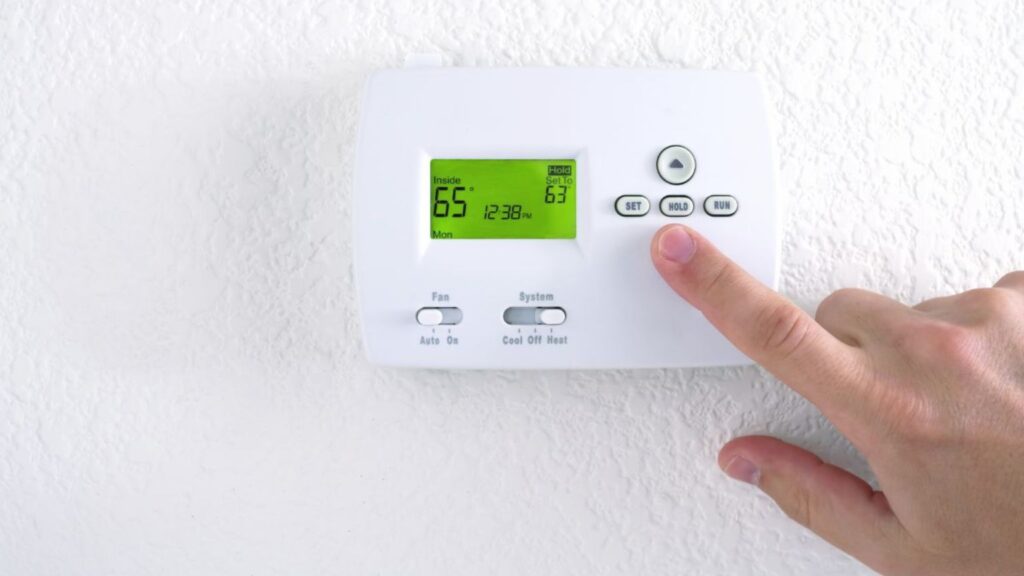
Restore power and configure settings
Turn the power back on at the circuit breaker. The thermostat should power up. Follow the on-screen prompts to configure your settings, such as date, time, and desired temperature ranges.
Special considerations
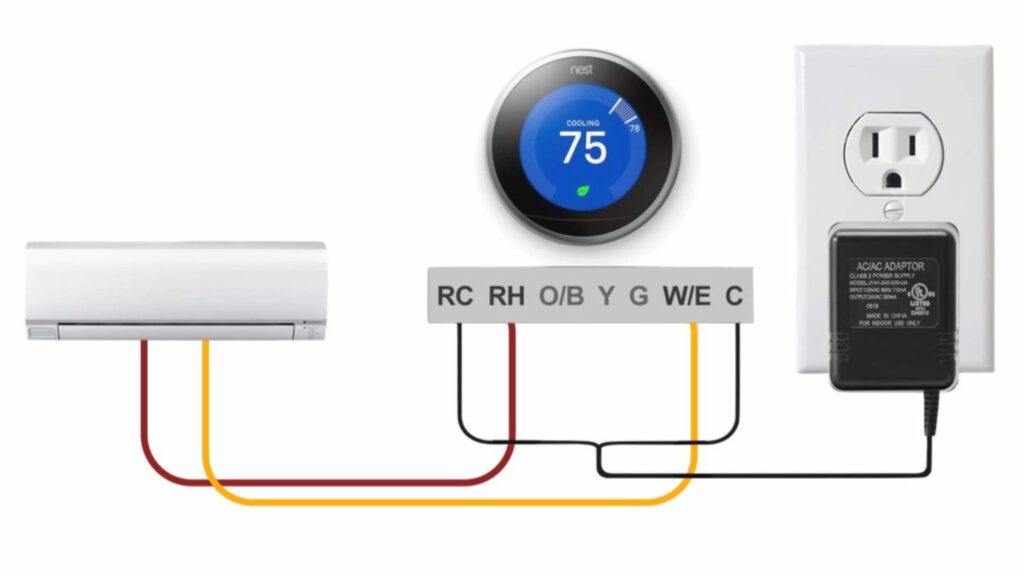
Dealing with a missing C-wire
Some older HVAC systems may lack a C-wire, which provides continuous power to the thermostat. If your system doesn’t have one, consider using a C-wire adapter or consulting a professional for installation assistance.
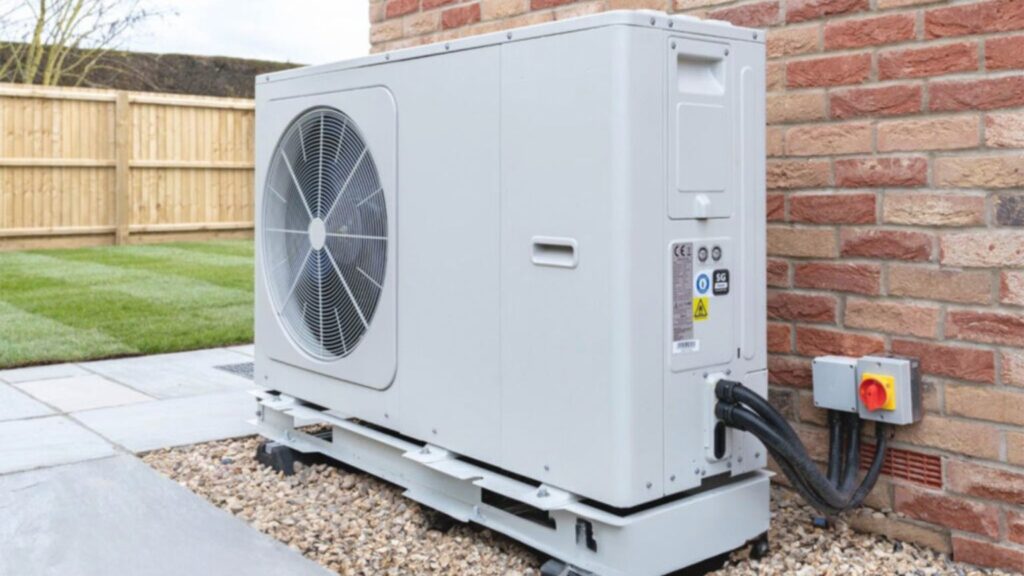
Heat pump systems
If you have a heat pump system, pay special attention to the O/B terminal. The wiring can vary based on the system’s manufacturer consult your system’s manual or a professional if unsure.
Tips for a successful installation
- Double-check connections: Ensure all wires are connected to the correct terminals.
- Secure wires: Make sure wires are firmly attached and not loose.
- Use the photo reference: Refer back to the photo you took of the original wiring if needed.
- Consult the manual: Always refer to the Honeywell thermostat wiring manual for specific instructions related to your model.
By following these steps, you can confidently install your Honeywell thermostat & enjoy a comfortable, energy-efficient home environment. If you encounter any issues or have questions, don’t hesitate to reach out to our support team & consult a professional HVAC technician.
Can I install a Honeywell thermostat myself?
Yes, if you’re comfortable with basic wiring and follow the instructions carefully. Otherwise, professional installation is recommended.
What if my system doesn’t have a C-wire?
You may need a C-wire adapter or consult with a professional to add one.
How do I know which wires correspond to which functions?
Refer to the labels on your existing thermostat or HVAC system, and consult the Honeywell wiring diagrams for guidance.

